I’ve been told I’m crazy. I’m starting to take it as a compliment.
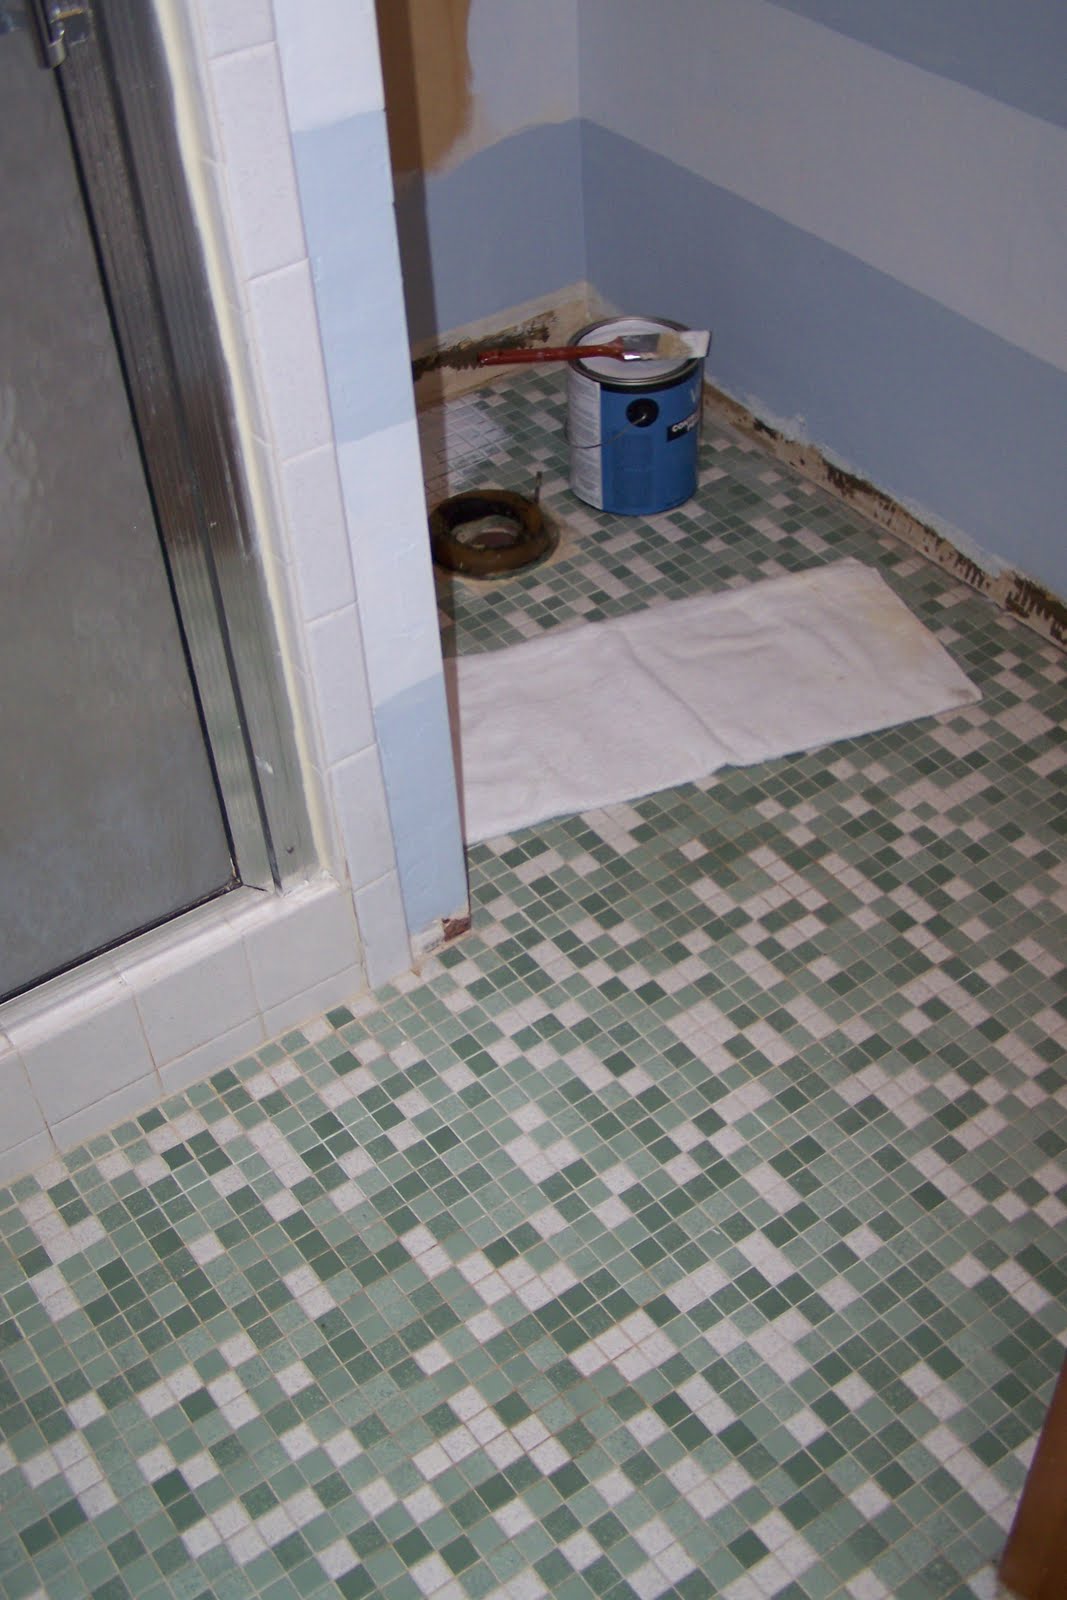
My project this week has been painting my tiled, bathroom floor. The tile was a 1960s mosaic pattern fashioned in various shades of mint chocolate chip green. The quality of the tile is fine. There was just too much minty green in the bathroom. The toilet and sink matched the shades in the tile. Who decided that toilets should come in the colors of the rainbow? (sidenote: We also have a peach one and a beige one…aka future projects)

Knowing that I hated the green tiles helped me have some courage to paint them. After all, if I hate them now, what do I have to lose, right? Plus, if it worked, I knew I could paint the tile floor in our guest bathroom as well. So, I saw a project online from the frugal farmhouse blog. Now I had a list of what to buy.
My timeline for this project was sped up by the fact that I bumped into our sink, breaking the seal around the pipe. To fix the seal, hubby examined the pipe, and as he was removing the elbow joint, it crumbled in his hand. That led him to remove the entire sink from the wall. Add in the fact that Lowes had toilets on sale that weren’t 1960s water guzzlers, and we had a project underway. Of course, no project is ever simple. It always leads to more projects, but maybe that’s just me.
Well, since the toilet and sink were no longer obstacles to paint around….I got started. First I made sure the tiles were cleaned thoroughly. Then I gave the grout a good 24 hours to dry. The next day, I painted the first coat of bonding primer with a brush, followed later that afternoon with the second coat, which I put on with a roller.
 |
| Bonding primer starting |
 |
| first coat of bonding primer |
The following day I painted 2-3 coats of floor and porch paint, color – chowder. I made sure to follow the recommended drying times on the cans. The following day I added two coats of polyurethane, with a third coat added within the next 24 hours. And that’s where it ends. Well, that’s where the floor painting ends anyways. All the paint and poly was painted on with a brush.
I did buy all my products from Lowes, and no I am not being compensated for saying that. Although if anyone from Lowes is out there reading this...LOL.
I love the results. It makes the room feel totally different and was very easy to accomplish. Waiting for the drying time may have been the hardest part of the job. So, stay tuned for the adventures in the rest of the room, as well as the guest bathroom floor. With all the rain we are getting, it will be a long time before I can paint anything.

To save you from scrolling all the way back up...
|
| Mint chocolate chip before |
|
| Chowder, after |
Looks great :)
ReplyDelete